


![]()
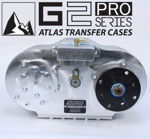
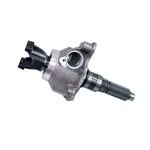
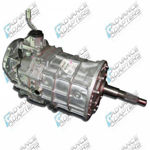
Transfer case rebuild kits are a cost-effective way to restore a 4x4 transfer case by replacing common wear parts. However, installing them can feel daunting the first time or if you’re an inexperienced DIYer. This guide walks you through rebuilding and reinstalling a transfer case. The basic process is the same whether you’re working on an aftermarket Atlas transfer case or fixing an OEM component.
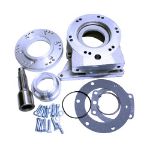
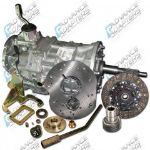
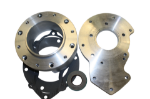
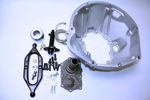
Transfer Case Overhaul
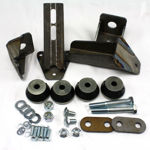
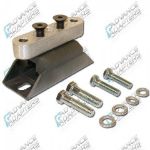
- Find the correct transfer case rebuild kit online or at a parts store.
- Lay out the parts and all necessary tools (wrenches, socket set, pry bars, etc.).
- Park the vehicle on a flat surface and engage the parking brake.
- Using a jack and jack stands or a vehicle lift, raise your 4x4 far enough off the ground so you can maneuver underneath it. Ensure the vehicle is stable before proceeding.
- If there is a skid plate covering the transfer case, remove this.
- Remove the transfer case drain plug and drain the fluid into a pan or container for disposal. Put the drain plug back on when you’re done.
- Remove the front and rear drive shafts. (Depending on the vehicle, you may also need to remove the shifting linkage and 4WD sensor.)
- Unbolt the transfer case and, if necessary, use pry bars to loosen it from the transmission.
- Carefully lower the transfer case from the vehicle. You might use a heavy-duty floor jack for stability.
- Set the transfer case on a flat, stable work surface.
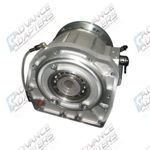
- Remove the bolts connecting the transfer case housing halves and gently pry the halves apart. You can tap the pry bars with a rubber mallet for assistance.
- Clean the transfer case with a degreaser and inspect all components for damage.
- Remove all parts you need to replace in this order:
- Retainer clips and rings
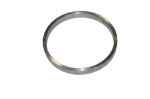
- Seals
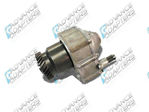
- Output shaft drive chain or gear
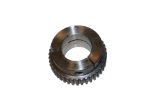
- Front output drive gear
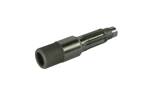
- Shifter shaft
- Input shaft seal retainer and snap ring
- Output flange
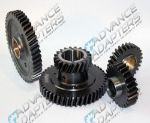
- Synchronizers
- Bearings
- Gears
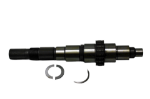
- Output and input shafts
- Install new parts in the reverse order of removal, adding grease or lubricant as needed.
- Re-align the housing halves, gently press them together and reinstall the bolts following a crisscross pattern. This distributes pressure evenly to maintain alignment.
- Reinstall the transfer case in the vehicle.
- Align the driveshaft spines with the transfer case input and output shafts, then slide the driveshaft into position and tighten it.
- Remove the transfer case fill plug and use a fluid pump to add the recommended amount of approved fluid.
- Replace the fill plug and inspect for any signs of leakage.
- Clean up and lower the vehicle.
![]()
Other Transfer Case Rebuild Tips
- Work slowly and carefully. Going fast will greatly increase the risk of damaging other drivetrain components.
- Keep track of all parts and hardware you remove, where they go on the vehicle and whether they require grease or lubricant. This will make reassembling everything easier.
- Wear safety gear such as gloves and glasses to protect yourself from injury or chemical contact.