JEEP JKs 2007 - 2018
Introduced in 2007, the JK Wranglers are an ideal vehicle for an Atlas transfer case. These Jeeps were offered with either an automatic or a manual transmission. Both of these transmissions have a 23 spline output shaft and bolt directly to the Atlas transfer case. The later automatic 2012 to 2018 has a 26 spline transfer case, the Atlas for these application looks just like the New Process, we have the Atlas with a 26 spline male spline to bolt directly up to the transmission.
The JK uses flange style yokes on the stock NP241 transfer case. The driveshaft's on these Jeeps also have a long slip to compensate for different drivetrain lengths. These stock drive shafts need to replaced with custom ones.
The JK used a cable linkage to shift the Stock NP241. We have designed a cable linkage for the JKs with an Atlas to fit the stock console. This shifter kit uses the stock access hole in the floorboard for the routing of the new cables making, for a clean and easy installation. The installation requires no cutting or modifications to the console and can be installed in just a few hours. The cable shifter kit for the Atlas 2 and 4 speed is 303035. If your JK has a Rubicrawler gear box installed, you will need a different shift kit to allow clearance for the Rubicrawler shifter. P/N 303036.
JK's that are installing an Atlas 4 speed will also require a shifter for the reduction housing of the transfer case. We offer a cable option. This linkage is designed to be mounted next to the console. 344025 is the cable shifter kit.
The JK control module is the only way of keeping all the stock functions operational when upgrading to an Atlas transfer case. This Module lights the dash lights in both high and low range as well as the settings on the ESP when in 4WD and lockers and sway bar disconnect on the Rubicon models. This kit is simple to install with just two plug-in connectors to the Atlas and connecting a power line to your fuse box and a ground to your battery.
Note: This kit is designed for the Atlas 2 speed but can be used on a 4 speed by adding a toggle switch into the system. The toggle would be wired in-line with the low range switch on the Atlas main case. Install the toggle into the console area. When shifting the planetary only into low range, you will need to switch the toggle to use the Jeep features that are activated with low range.
Dis-assembly Notes:
Remove the stock transfer case knob by pulling straight up on the knob.
On 2007-2010, remove the lower dash panel
Remove the 4 Torx fasteners that retain the center console. This will require the Torx on the driver's side lower panel and passenger side lower panel to be removed first.
Next, you will need to slide both seats to their forward position. You can then locate the Torx on the lower rear of the center console.
Remove the black cover located on the lower portion of the dash at the front of the console. Pull out at the bottom. This piece is retained by a pair of spring clips.
You will then be able to remove the center console. It is necessary to have the e-brake on and pulled to its highest point. The gear selector will need to be in "D" or "2nd" (with the engine off and the key in the run position, you will also need to apply the brake to get it out of "P"). Start by lifting at the rear of the console. You should now be able to remove and set it aside.
2011 to 2018 console removal: Pull the shifter knob straight up and off. The console is snap clipped into the lower console housing and the top portion just needs to be removed for the shifter installation.
On to the factory transfer case shift lever, you will need to remove the three 10mm nuts that retain the factory plastic single lever shifter. Make sure you retain these 10mm nuts as you will re-use these later in the install.
2007 to 2018: You are now ready to climb under your JK. First, you will need to remove the 4 bolts retaining the factory skid plate. This will allow you to remove the driveshafts front and rear from the factory transfer case. You will need to find the factory cable shift bracket located on the driver's side toward the rear of the transmission. It is retained by 3 bolts. Remove the 3 bolts and pry the factory cable from the shift bracket.
Remove the 2 wire plug located on the transfer case range switch. (Note: It is Bronze/Gold in color and shaped like a large bolt.) The final stage in removing the factory transfer case. Remove the breather hose located near the transfer case range switch. Use a transmission jack or extra help in removal of the transfer case as it is awkward and heavy. Remove the 6 nuts retaining the transfer case to the back of the transmission. The transfer case is now ready to be removed.
Remove the factory skid plates. Automatics will require the removal of the crossmember and the transmission mount. Some of the notes that follow is noted in the shifter instruction sheet 303035 for 2 & 4 speeds.
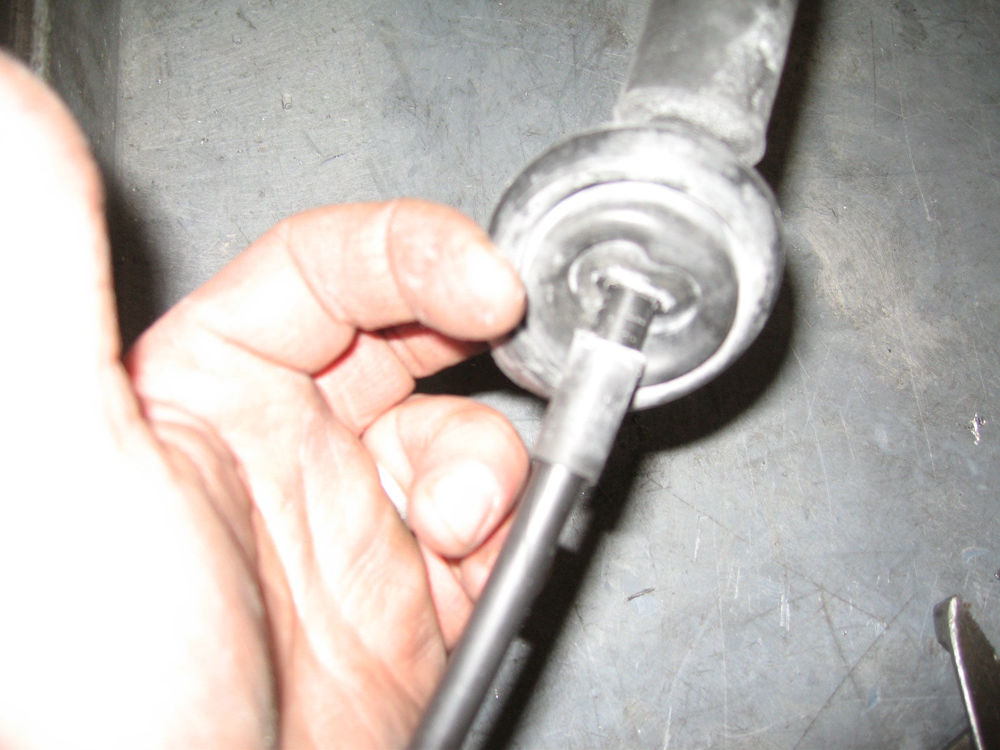
Cut the original equipment shifter cable and remove the grommet. You will be reusing this part, so save it for the new cables.
We recommend installing the Atlas with the studs installed in #4 location when using the standard Atlas input (for a stock installation).
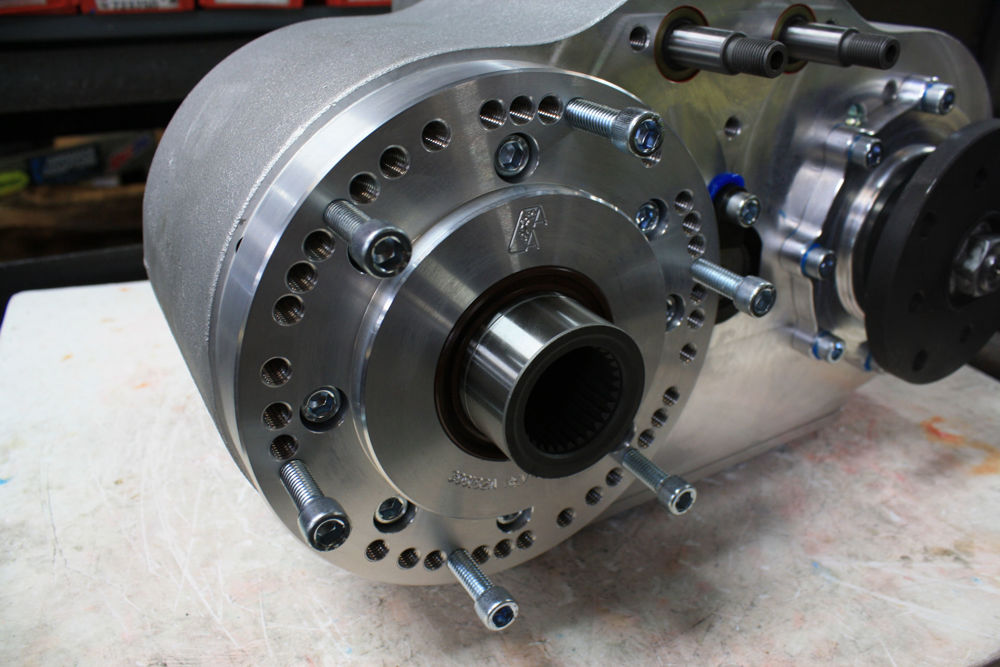
And we recommend installing the Atlas with the studs installed in #2 location when using the JK automatic transmission Atlas input (for a stock installation).
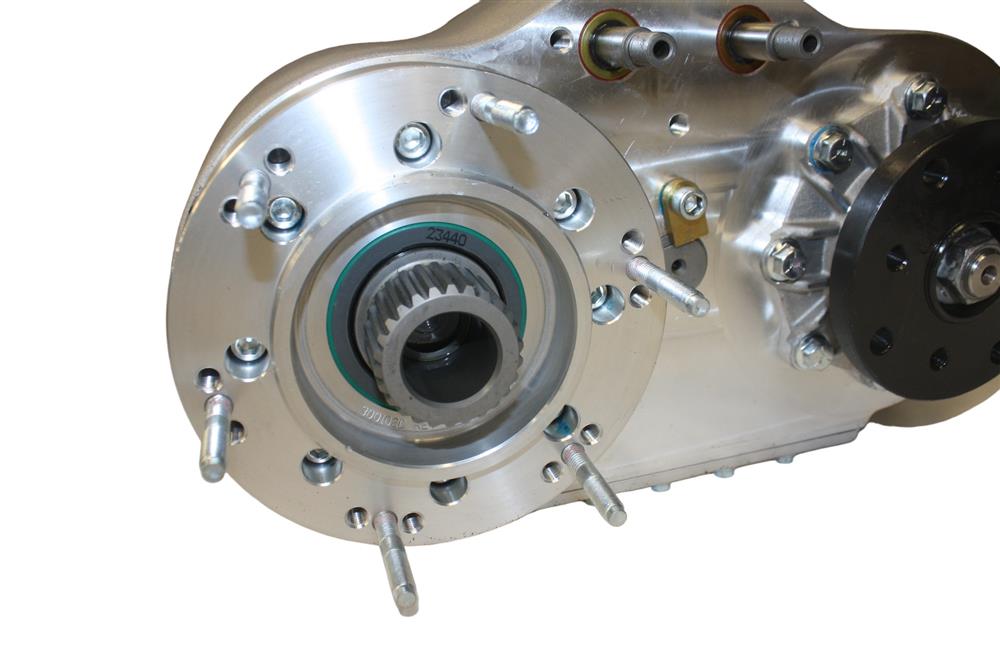
Either Atlas input will allow clearance for a 1350 series yoke assembly.
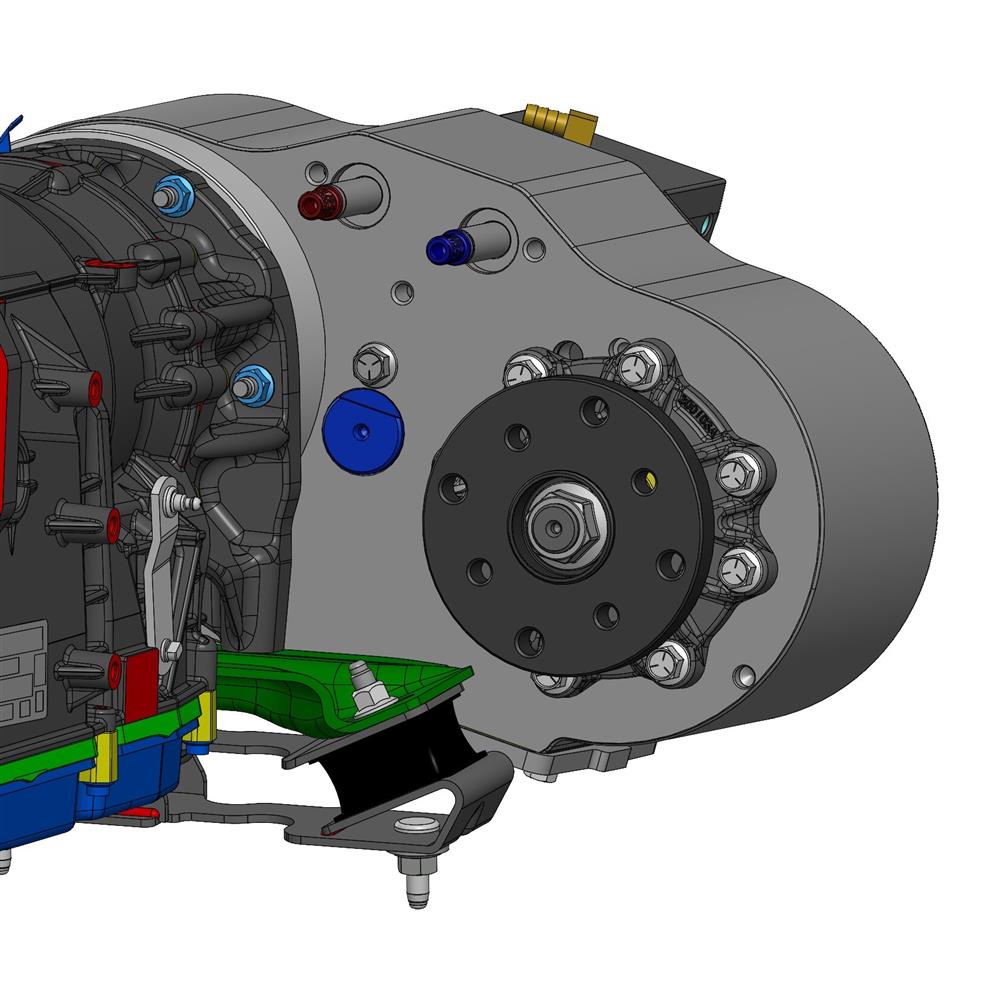
This sets the Atlas at a 4 degrees lower clocking than the stock but with the front yoke being closer to the front axle provides a better front drive shaft angle.
If you are installing custom axles like Dana 60's, then you may want to consider clocking the Atlas up one rotation as this will be a better fitment for that axle choice.
Install the cable shifter to the front of the Atlas per the 303035 instructions. Install the Atlas into the Jeep JK.
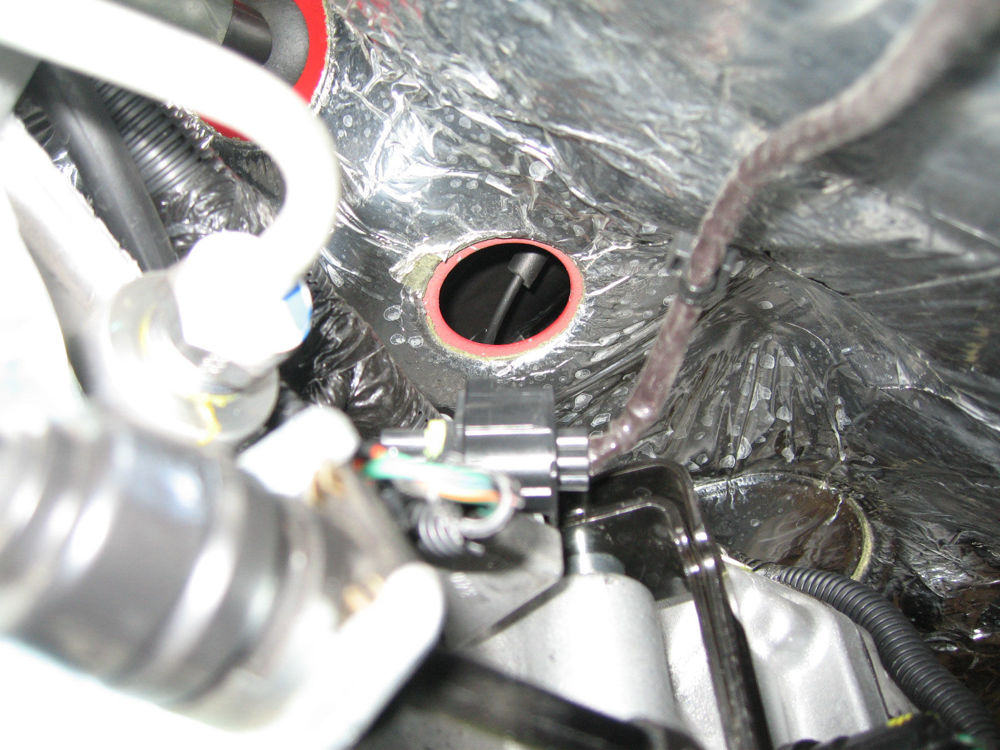
Take the cables and install them through the grommet, slide one cable at a time through the hole in the body. Note the cable colors have changed over the years, this photo shows green, however, we also use purple, red, & black.
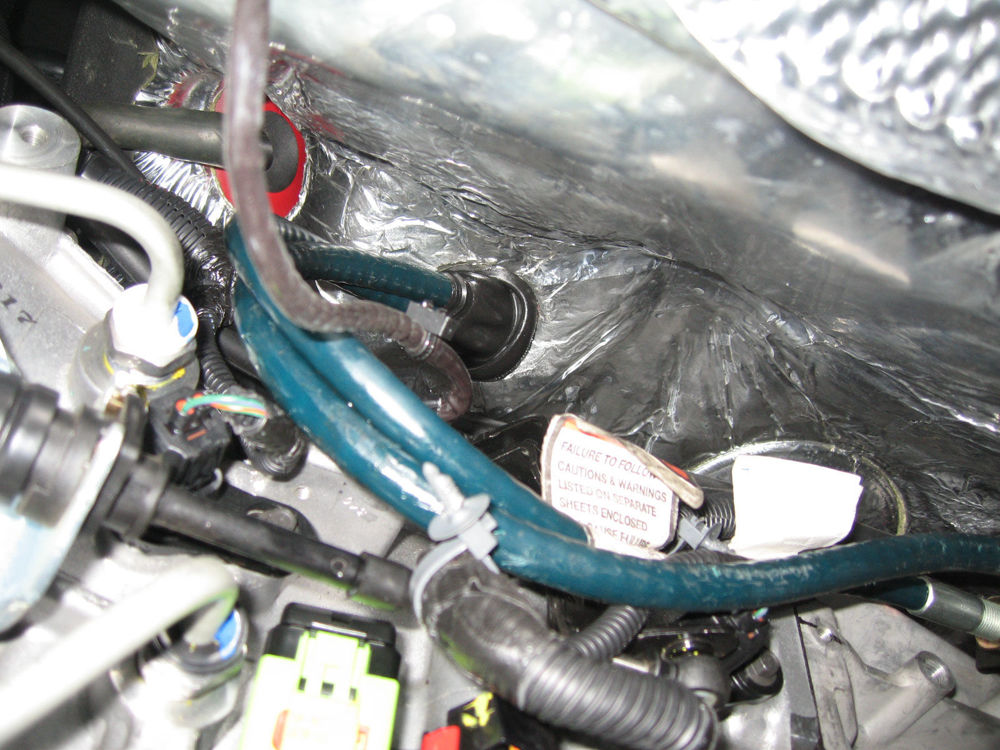
Pay attention to make sure that you get the cables under the aluminum dash structure. Once the cables are through, press the grommet into the hole. Follow the assembly instructions for the installation of the shifter.
Now that you have the Atlas installed and the shifter installed.
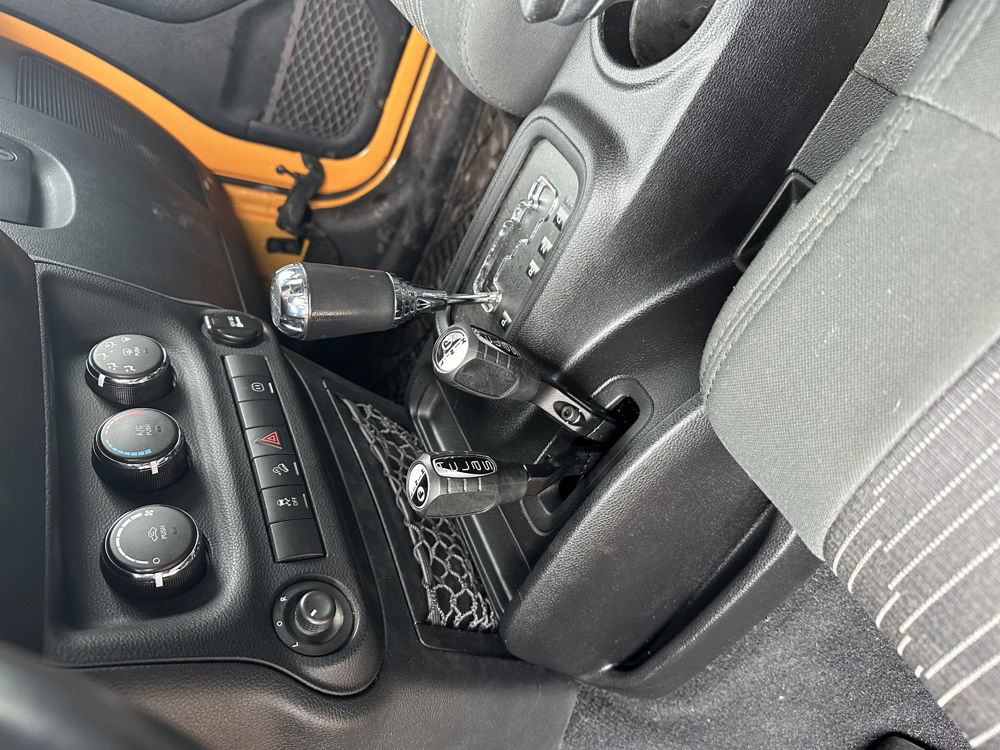
Automatic transmission Atlas shifter installed
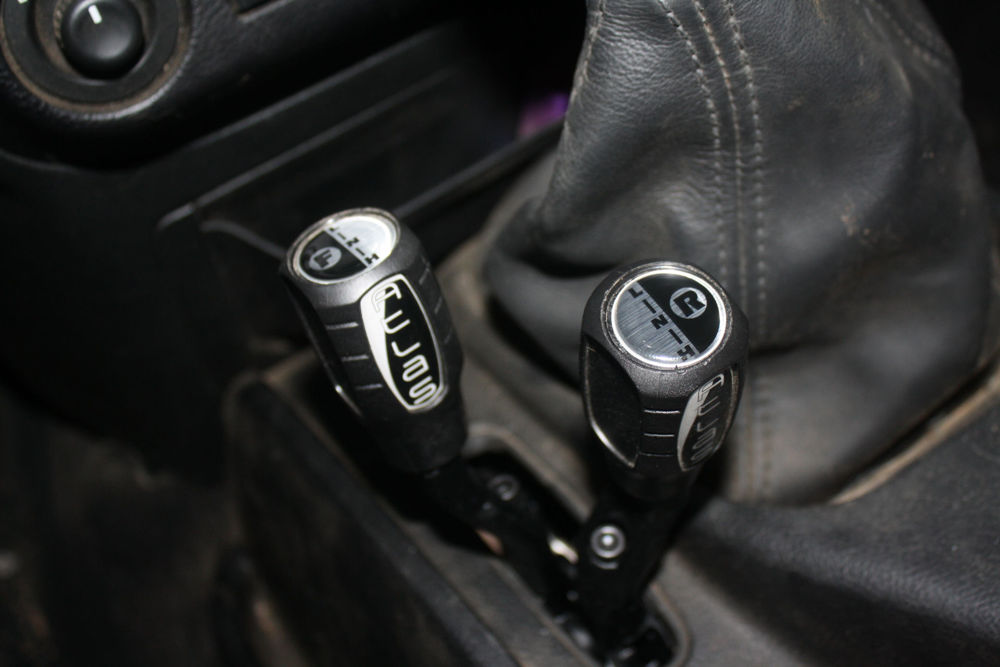
Manual transmission Atlas shifter installed
The electronics of the JK need to be connected. The nice thing is we have you covered with kit 300377A. The kit does require the transmission control module to be flashed to operate correctly on 2012 to 2018 JK's. The kit allows the JK to retain all the stock functions that it came with stock when installing an Atlas.